Often while debugging Java applications, it is required to view the source code of standard Java classes. This post describes how to attach JDK source code in Eclipse IDE.
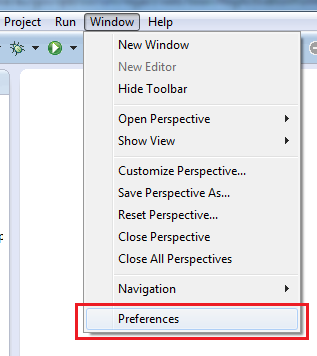
Step 1
Open Eclipse and go to Window -> Preferences
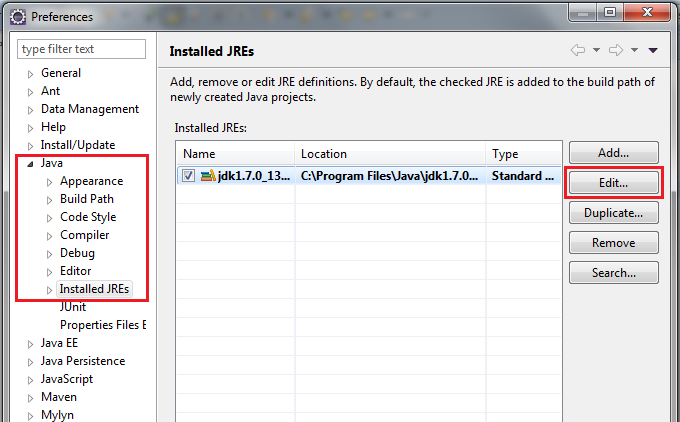
Step 2
In Preferences window, go to Java -> Installed JREs. Select the JRE and click on the Edit button.
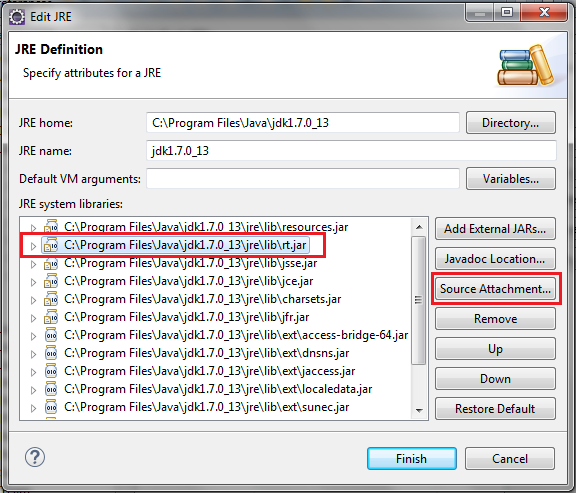
In the Edit JRE window, select the file rt.jar in the section named JRE system libraries and click on Source Attachment button.
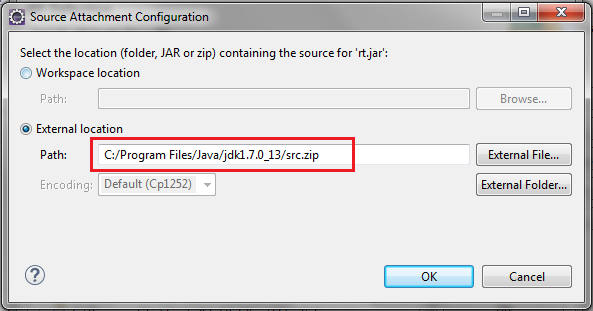
In the Source Attachment Configuration window, provide the location of the src.zip which is usually found in the JDK root folder. For example, C:/Program Files/Java/jdk1.7.0_13/src.zip
Click OK -> Finish -> OK to save and apply the changes. Now in your Java program if you press CTRL + left-mouse-click on any standard Java class, for example java.lang.System, it will open up the source code for that class.
good job